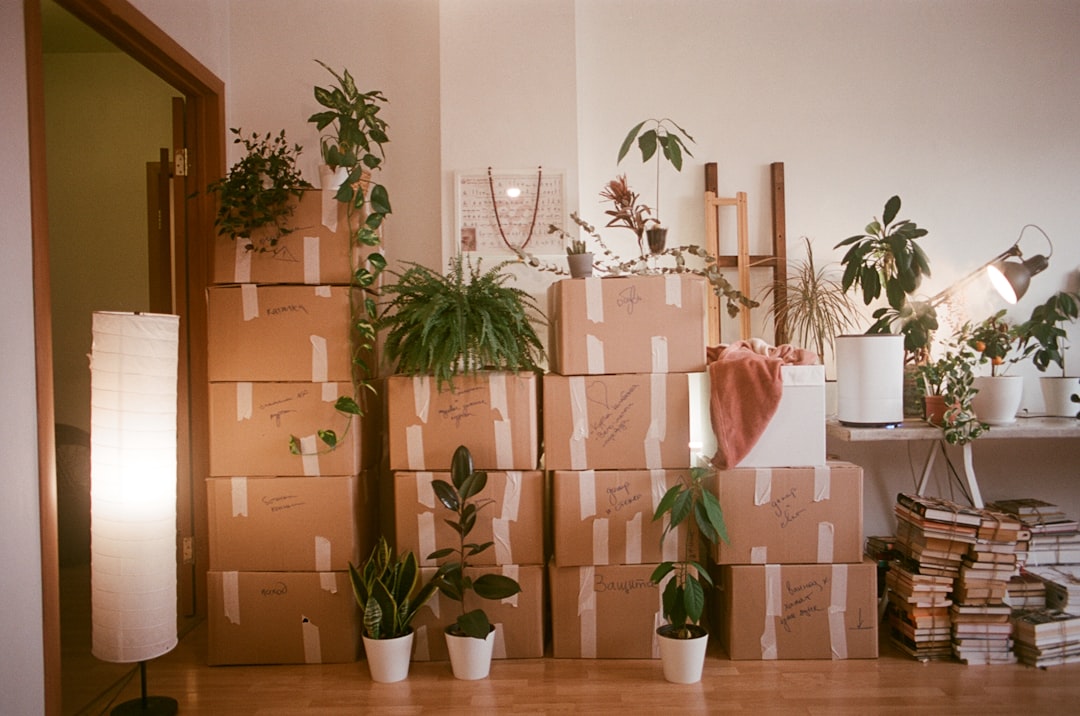
Temporary storage during a home renovation protects furniture, appliances, documents, and household essentials from dust, moisture, damage, and repeated handling. This guide helps you compare storage options, estimate practical costs, pack by priority, plan access, and coordinate the move back with construction milestones.
Overview
The right renovation storage solution depends on four variables: how much you are storing, how long the project will last, how often you need access, and what level of protection each item requires. A small kitchen refresh may only require a cleared room or a compact storage unit. A whole-home remodel may call for climate-controlled storage, professional handling, or a portable container that can be loaded in stages.
Start by dividing belongings into four groups:
- Store off-site: Large furniture, rugs, artwork, electronics, documents, and anything exposed to construction dust or vibration.
- Keep on-site: Items needed daily, provided they can be isolated from the work area and protected from dust, moisture, and accidental contact.
- Keep accessible: Seasonal clothing, medication, essential kitchen equipment, work materials, and items needed for temporary living arrangements.
- Discard, donate, or sell: Damaged, duplicate, or unused items. Avoid paying to transport and store belongings you do not plan to keep.
Before requesting a moving and storage cost estimate, create a room-by-room inventory. Record the item, quantity, approximate dimensions, condition, destination, and access priority. This makes it easier to compare a storage unit, portable container, off-site movers, or unused space in the home.
Compare renovation storage options
| Option | Best suited to | Advantages | Planning considerations |
|---|---|---|---|
| Storage unit | Items that can remain packed for most of the project | Dedicated space, flexible unit sizes, and potentially regular access | Transport is needed, and frequent retrievals may require careful aisle planning |
| Portable container | Staged renovations or projects where loading and unloading happen at the property | Convenient loading and fewer trips during the initial move | Confirm placement, weather protection, access rules, and whether the container must be moved during construction |
| Off-site movers | Large quantities, specialty items, or households needing handling support | Can combine packing, transport, inventory, and storage | Review the quote, access arrangements, item protections, and moving insurance coverage |
| Unused room | Small projects with a clean, dry, secure room away from construction | No external storage fee and immediate access | Requires dust barriers, floor protection, stable stacking, and enough clearance for safe retrieval |
For wood furniture, instruments, electronics, photographs, documents, upholstered items, and other moisture-sensitive belongings, consider climate-controlled storage. The appropriate choice depends on the item, the expected storage period, the local environment, and the facility’s actual controls.
Checklist by scenario
Two to six weeks of storage
- Confirm the renovation start and expected completion dates with the contractor.
- Ask whether demolition, painting, plumbing, or flooring work could extend the schedule.
- Store fragile and dust-sensitive items before demolition begins.
- Use sturdy boxes and seal packed cartons without making them difficult to reopen.
- Keep an essentials area separate from long-term storage.
- Reserve transport or packing help for the dates when the property is clean and accessible.
Several months of storage
- Choose a facility or container suited to the full expected term, with a plan for possible extension.
- Use pallets, shelving, or another method to keep boxes and furniture off floors where appropriate.
- Leave space between walls and stored items when the facility or storage instructions recommend it.
- Photograph valuable items and note existing condition before wrapping or loading.
- Place an inventory copy inside the storage area and retain a digital copy.
- Label every box on multiple sides with room, contents, handling instructions, and access priority.
Storing furniture during a remodel
- Clean and dry furniture before wrapping it; trapped dirt or moisture can worsen during storage.
- Disassemble only when the parts can be identified and the hardware stored in a labeled bag.
- Use breathable protection where appropriate rather than sealing materials that could trap moisture.
- Do not place heavy boxes on upholstered furniture, fragile surfaces, or assembled shelving.
- Keep mattresses and sofas protected from dust while avoiding compression that could affect their shape.
- Record dimensions before moving large pieces so the storage layout can be planned in advance.
Storing appliances, documents, and household supplies
- Empty, clean, and dry refrigerators, freezers, washers, and other appliances before storage.
- Secure doors as directed by the manufacturer, but avoid airtight sealing if it could trap moisture.
- Keep important documents in protective containers and consider a separate secure location for irreplaceable originals.
- Do not store prohibited, flammable, perishable, or hazardous materials in a unit or container.
- Keep renovation materials, replacement fixtures, and flooring together with their purchase records and installation notes.
Item-access priority template
Use this simple ranking before loading:
- Priority 1: Retrieve within 24 to 72 hours, such as medication, work equipment, documents, or daily clothing.
- Priority 2: Retrieve during a room turnover, such as kitchen equipment, bathroom supplies, or bedroom furniture.
- Priority 3: Leave packed until the final move-back, such as seasonal décor, artwork, and rarely used furniture.
Load Priority 1 items nearest the door or in a clearly marked access zone. A detailed room-by-room moving inventory can reduce searching, duplicate purchases, and unnecessary retrieval fees.
What to double-check
- Total cost: Compare storage, delivery, packing materials, transport, labor, access fees, protection materials, and likely extensions—not just the advertised storage rate.
- Quote assumptions: Confirm the volume, number of movers, stairs, elevator use, travel distance, storage term, loading conditions, and whether re-delivery is included.
- Access: Check opening hours, notice requirements, vehicle access, container loading rules, and whether someone must be present for retrieval.
- Protection: Ask how the facility handles moisture, pests, temperature changes, fire protection, and security. Match the controls to the contents rather than assuming every item needs the same environment.
- Responsibility for damage: Review the mover’s terms, valuation or coverage options, exclusions, claims process, and your own household policy. The guide to verifying a moving company’s license, insurance, and claims process can help structure this review.
- Construction access: Coordinate storage retrievals with the contractor’s schedule. Newly finished floors, cabinetry, paint, and trim may need protection before furniture returns.
Common mistakes
- Underestimating the project duration: Build a contingency into the storage plan and ask how extensions are handled.
- Choosing a unit by floor area alone: Account for vertical clearance, door width, furniture dimensions, walkways, and an access zone.
- Mixing essentials with deep storage: This forces avoidable unloading and can delay the renovation schedule.
- Wrapping damp or dirty items: Clean, dry, and inspect belongings before packing.
- Using unhelpful labels: “Box 12” is less useful than “Kitchen—daily dishes—Priority 1.”
- Ignoring the move-back route: Measure doors, stairways, elevators, and finished rooms before scheduling delivery.
- Moving items into finished rooms too early: Confirm that floors, paint, adhesives, and fixtures are ready for furniture and normal use.
If you are unsure whether self-service storage or professional handling is more practical, compare the trade-offs in full-service movers versus DIY moving and storage.
When to revisit
Review the storage plan at every project milestone, not only on moving day. Revisit it before demolition, when the contractor confirms the schedule, after a delay, when a room is released, and before final installation. Seasonal changes also matter: moisture, temperature, storms, and access conditions may affect how items should be protected or retrieved.
Use this move-back workflow:
- Ask the contractor to confirm that the room is complete, clean, dry, and safe for delivery.
- Match the room’s finished layout to the inventory so furniture arrives in the correct sequence.
- Retrieve Priority 2 items first for rooms that are ready, leaving final décor and low-priority boxes until the end.
- Protect new floors, corners, walls, and doorways before carrying items inside.
- Inspect belongings during unloading and document any damage promptly.
- Update the inventory, return packing materials, and close or resize the storage arrangement once the project is complete.
For larger households or longer projects, review the storage selection checklist and storage unit size guide before committing. A short planning review can prevent an oversized space, an inaccessible layout, or an unnecessary second move.